 In life, some things are easy to take for granted. Home plumbing is one of them.
Most likely, you don’t think about your plumbing until it stops working. But, when plumbing problems do occur, they can greatly disrupt daily life.
With that in mind, let’s list some common plumbing problems and talk about how to fix them. We’ll also consider how, with the right plumbing maintenance, you could prevent these issues altogether.
1. Leaky Faucets
A leaky faucet can have numerous causes, including worn-out washers, corrosion, and high home water pressure. Generally speaking, it costs between $65 and $150 for leaky faucet repair.
To avoid this issue, don’t overtighten your handles, and check your seals at least once per year. Additionally, it helps to install water-saving fixtures. By utilizing less water, these products are gentler on plumbing systems.
2. Clogged Drains and Toilets
All kinds of things can stop up toilets and drains: paper towels, baby wipes, grease, soap scum, and tree roots, to name a few. And, left untreated, drain clogs can lead to other problems, including mainline clogs, slow drains, and sewer backups.
Sometimes, unclogging a drain is fairly easy. Just have the right tools ready: a plunger, drain snake, and enzymatic cleaner. But don’t use a chemical drain cleaner: It might corrode your pipes.
3. Running Toilets
“Why won’t my toilet stop running?”
You’d surely ask yourself that question if you had a toilet tank that was filling constantly. It’s a frustrating issue that wastes water and drives up monthly water bills.
The fix here could be relatively simple, though: Try replacing the flapper or the float valve.
4. Low Water Pressure
Low water pressure could mean a clogged aerator. In that case, you could clean the aerator.
Alternatively, a valve might be faulty, in which case you’d want to open your valves and scrutinize them for damage.
There might also be a mainline leak that’s causing low water pressure. If so, checking your pressure regulator would be the right course of action.
5. Leaking Pipes
Maybe you’ve noticed the telltale signs of leaking pipes: musty smells, water stains, and higher-than-normal water bills.
If so, keep in mind that leaky pipes are more than an annoyance. They can bring about harmful molds, water damage, and structural decay.
To prevent this problem, insulate your pipes in winter months, and inspect your pipe fittings every year.
6. Water Heater Problems
 Water heaters can sometimes be troublesome. Homeowners may find themselves dealing with failed pilot lights, water heater leaks, and sediment buildups.
To avoid these issues, flush your heater once a year, inspect the anode rod annually, and rely on your owner’s manual for other water heater maintenance tips.
7. Sewer System Backups
When your home smells like rotten eggs or sewage, it’s likely due to a sewer system backup. And tree roots, aging sewer lines, and grease clogs are three potential culprits.
Prevention measures can help. For instance, you could avoid flushing wipes, and you could install a backflow valve.
8. Burst or Frozen Pipes
Pipes that freeze and then burst are an extreme danger. They can cause major flooding. Even worse, when water flows into electrical fixtures, fires can break out. Not to mention, burst pipe repair can be exceptionally expensive.
Therefore, frozen pipe prevention is key. Insulate your pipes, and try using heat tape. Also, when it’s freezing outside, let your faucets drip to keep water flowing throughout your plumbing system.
9. Garbage Disposal Jams
How do you keep your garbage disposal from jamming? First, watch what you put in it. Bones, coffee grounds, and potato peels, for example, should never go into this machine.
Also, run cold water when you’re using your disposal. That’s because hot water can turn food waste into a sticky mush, and that mush can clog this machine.
To safely unjam your garbage disposal, unplug it, and use the hex key — which is located under the unit — to dislodge any obstructions. Then press the reset button.
10. Sump Pump Failures
Power failures, stuck switches, and insufficient maintenance can all cause your sump pump to stop working.
What happens if your sump pump fails? Your home — particularly your basement — could flood.
Thus, inspect this device carefully every year. And, if you’re experiencing a season of heavy rain, do an extra sump pump inspection.
11. Dirty or Discolored Water
Not all discolored water samples are alike. For example, rust-colored water is often caused by galvanized pipe corrosion. Air bubbles or sediment, meanwhile, can lead to cloudy water.
Whatever color your dirty water may be, pipe replacements and water filtrations are often the solution.
12. Noisy Pipes (Water Hammer)
Do you hear banging sounds when you shut off your water quickly? If you do, you might resolve it by installing a water hammer arrestor or a pressure-reducing valve.
13. Toilet Overflows
Toilet overflows, of course, are especially nasty. And plumbing clogs, sewer backups, and stuck float valves are often to blame.
People sometimes panic as they search online for a phrase like: “What to do if your toilet overflows?”
If you’re in this situation, shut off your toilet valve first. Next, try plunging. Finally, inspect the tank components to see if anything is broken or malfunctioning.
14. Slab Leaks
A slab leak is a hidden problem — and a deadly one.
That’s because, if you don’t address such a leak early enough, you might have water under your floors along with severe foundation damage. If ignored long enough, it could cost $2,000 to $10,000 to fix.
To detect a slab leak, look for warm spots and warped flooring in your home as well as unexplained water usage.
15. Old Pipes, Old Plumbing Systems
Some plumbing systems and pipes have been around for a long time — too long. That is, they no longer work well.
What are your pipes made of? If it’s galvanized steel, polybutylene, or cast iron, you can be sure your pipes are old.
Fortunately, you could repipe with PEX or copper. That would be a long-term upgrade: You’d have fewer leaks, and your home would enjoy a higher resale value.
Take Action, Prevent Problems, Call Benjamin Franklin
 Any DIY plumbing project could be grueling and time-consuming. Plus, it’s so easy to make a mistake. And plumbing mistakes can be exceedingly costly.
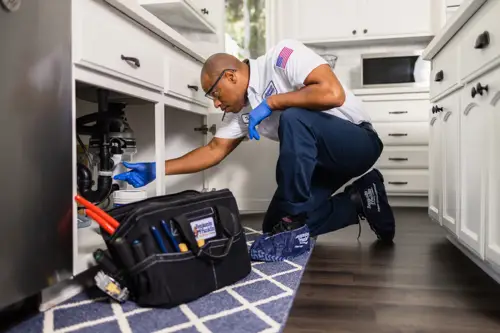
For these reasons, hiring professional plumbers is usually the wisest choice.
At Benjamin Franklin Plumbing, our punctual plumbers are true experts, and they’re dedicated to the best in customer service.
We serve Fort Myers, Fla., and nearby areas. And we’re available for plumbing inspections as well as same-day repairs. So please contact us at any time.
In the end, you’ll avoid major plumbing issues by requesting annual inspections and by seeking repairs at the first signs of trouble. As we at Benjamin Franklin like to say: “A little prevention saves a lot of money.”
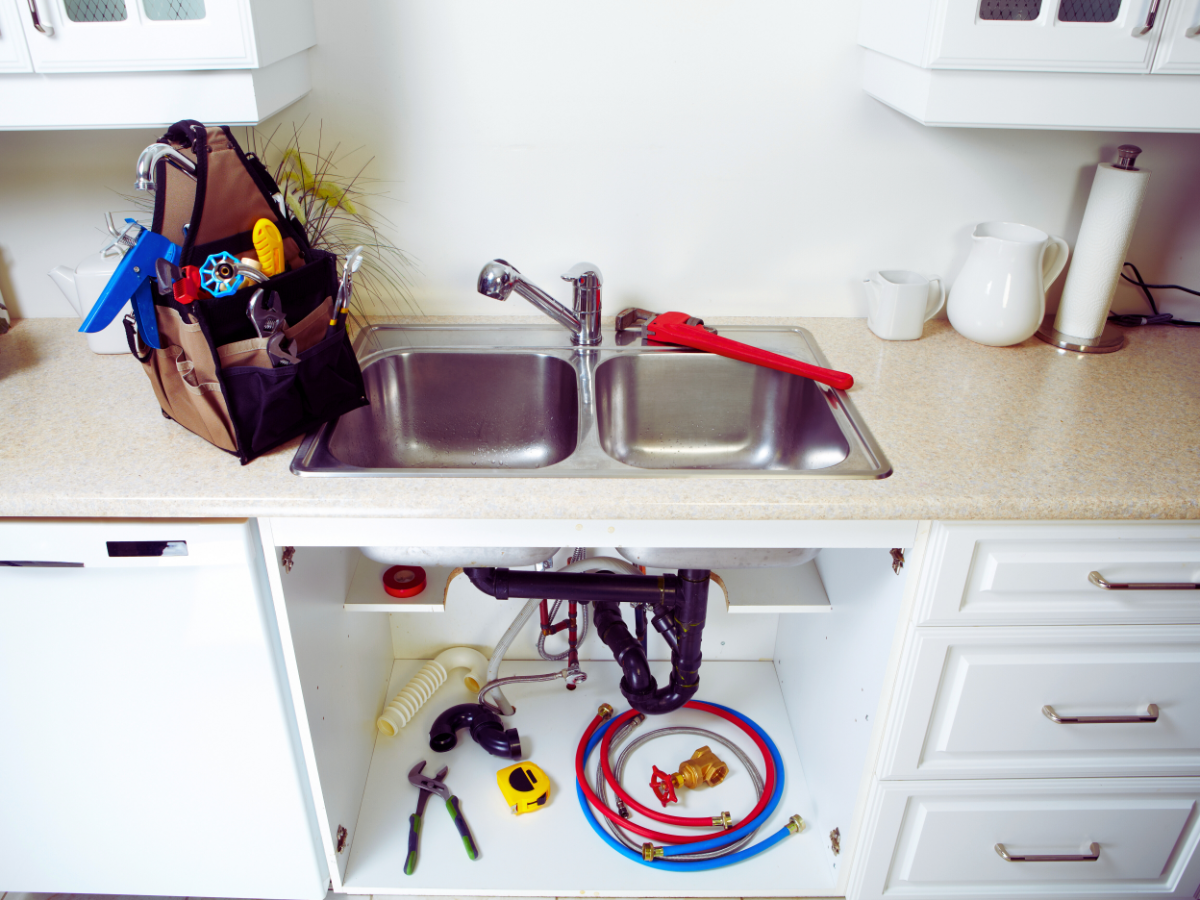 Your kids are screaming because the toilet is overflowing, and the dogs are barking. Amid the commotion, you have to find a feasible solution in your DIY plumbing kit. Use this home plumbing tools checklist before calling for help.
 If you’re uncertain about how to tell how old a water heater is, you’ve come to the right place! The experts at Benjamin Franklin Plumbing have years of experience checking out water heaters for our Ft. Myers, FL customers.
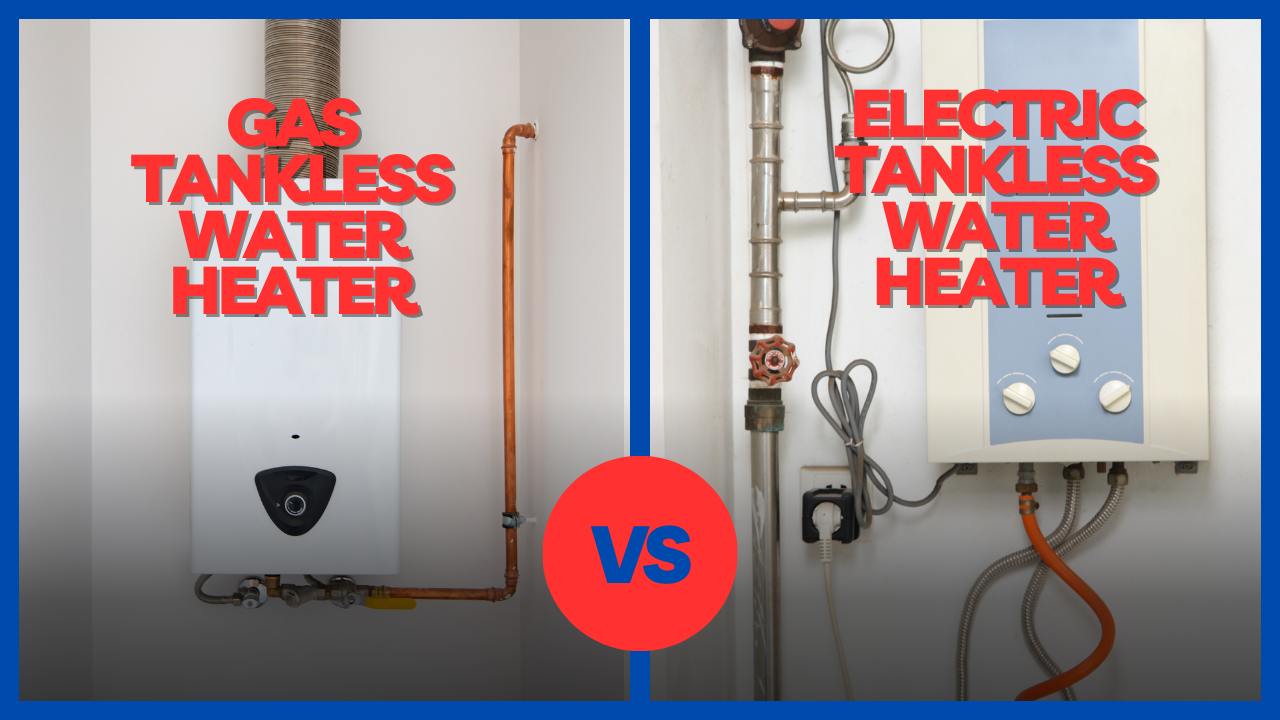 Are you thinking about upgrading to a tankless water heater? You’re far from alone! While traditional tank-type water heaters still reign supreme, tankless models are growing in popularity, especially in Southwest Florida.
 Let’s start our deep dive into tankless water heaters with electric models. Electric tankless water heaters rely solely on electricity to heat water.
 Gas tankless water heaters can use natural gas or propane as their heating source.
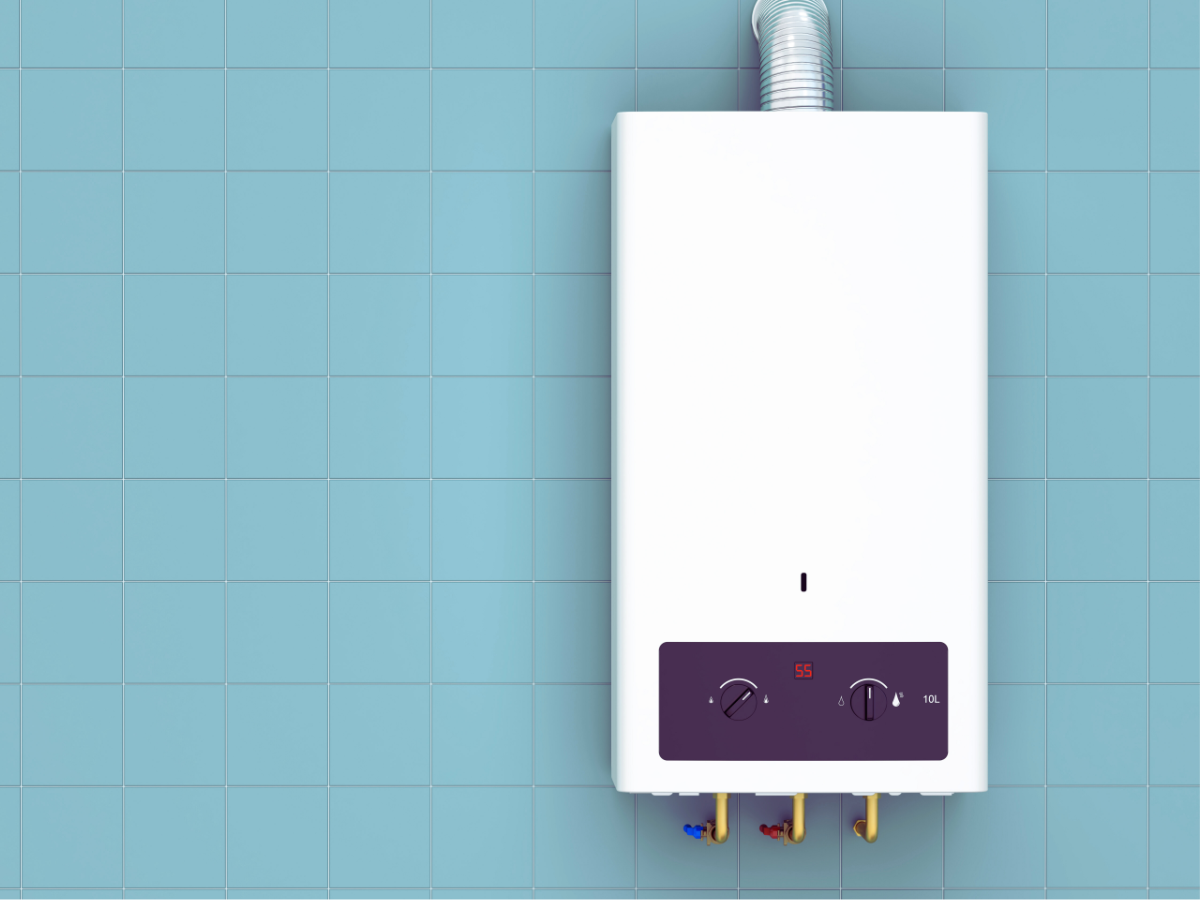 The lifespan of an electric water heater is around 15 to 20 years. Of course, longevity varies based on maintenance and the quality of water that runs through the system. Soft water regions benefit from greater longevity. Fortunately, electric systems don’t require much upkeep to stay in excellent shape.
 How much do you think, on average, water heating accounts for a home’s total energy usage? The answer might surprise you:
  The traditional tank water heater is powered by
 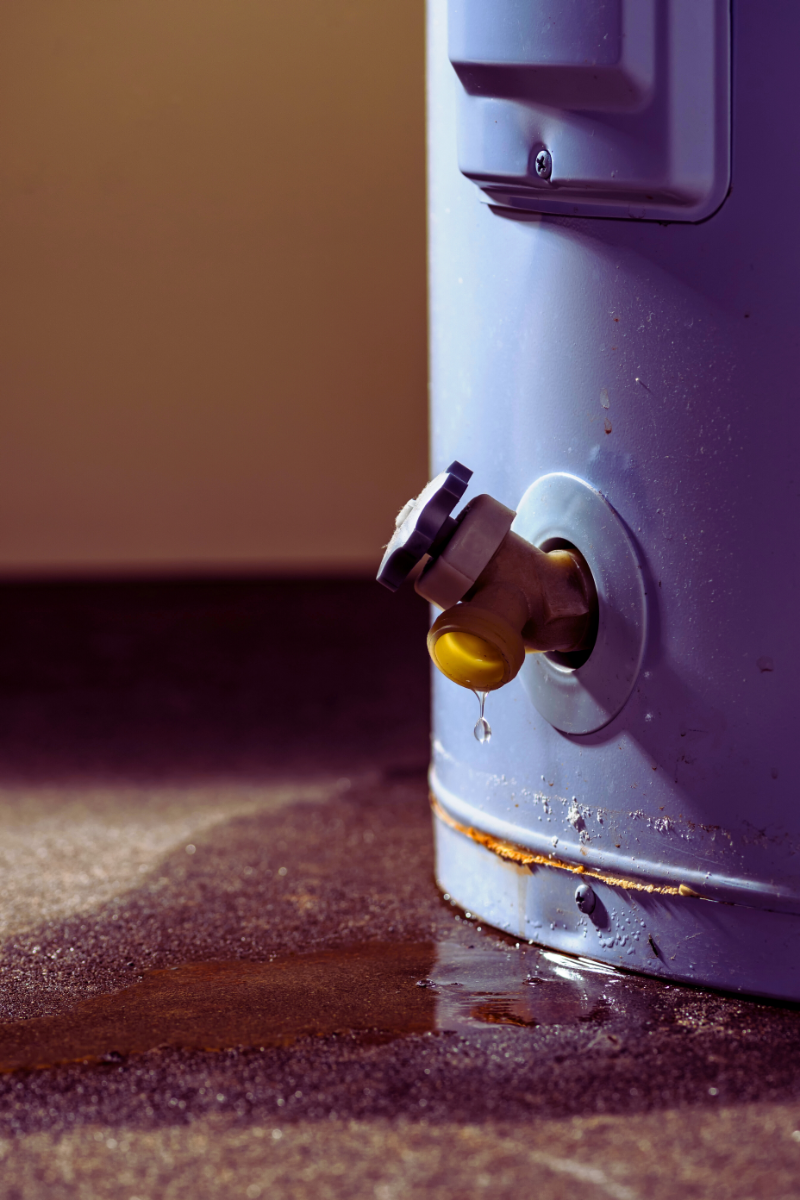 If your water heater has started leaking, figuring out what to do next is very important. Many homeowners make the mistake of thinking they can ignore a leak as long as it’s just a few drops.
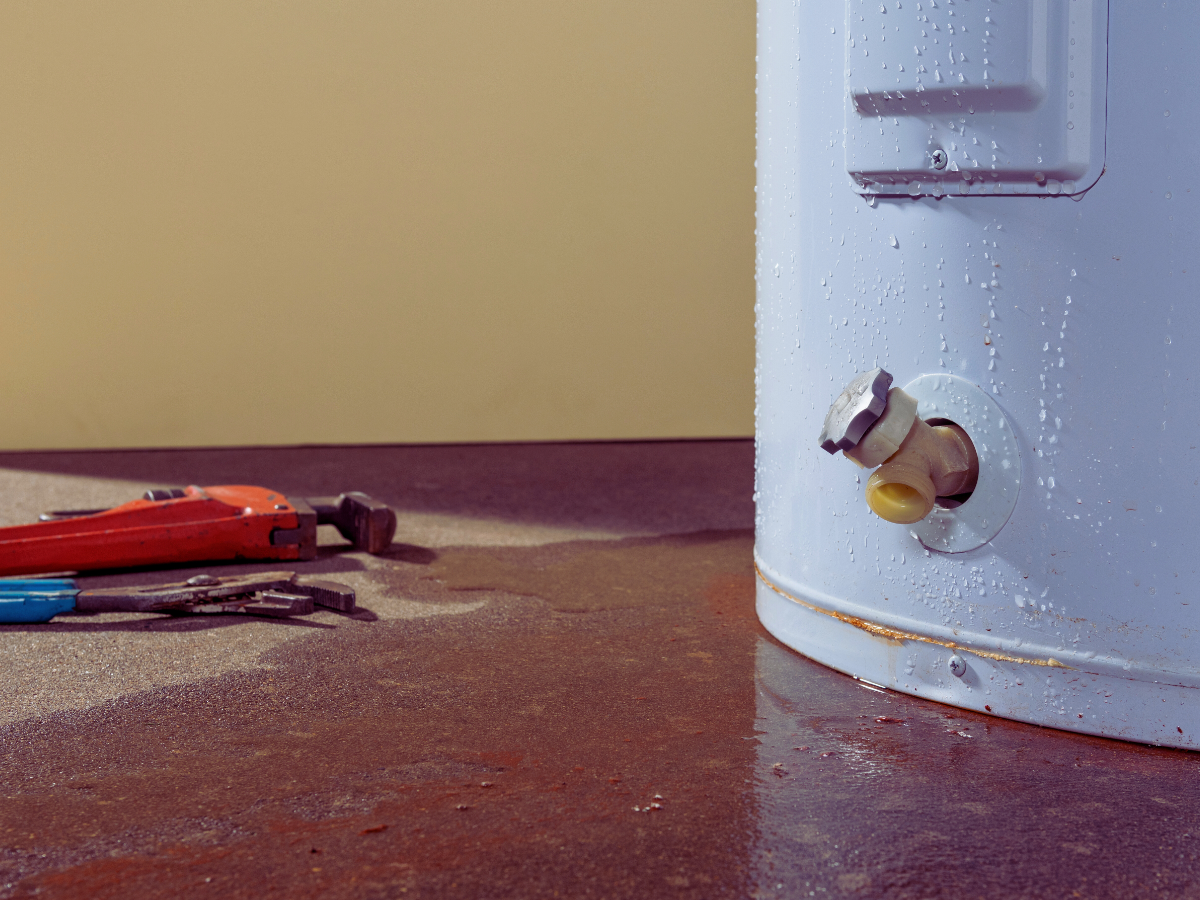 Once your water heater starts leaking, things can get very messy and dangerous very quickly. Here are some common issues to be aware of.
 We’ve all been there – that moment of panic when water starts appearing where it shouldn’t, or you hear a strange noise coming from your pipes. Not every plumbing issue is cause for alarm, but there are some plumbing emergencies that simply can’t wait.